Water Supply System Installation
This guide provides an overview of the installation process for water supply systems. While we recommend professional installation for most systems, this information will help you understand the process and make informed decisions.
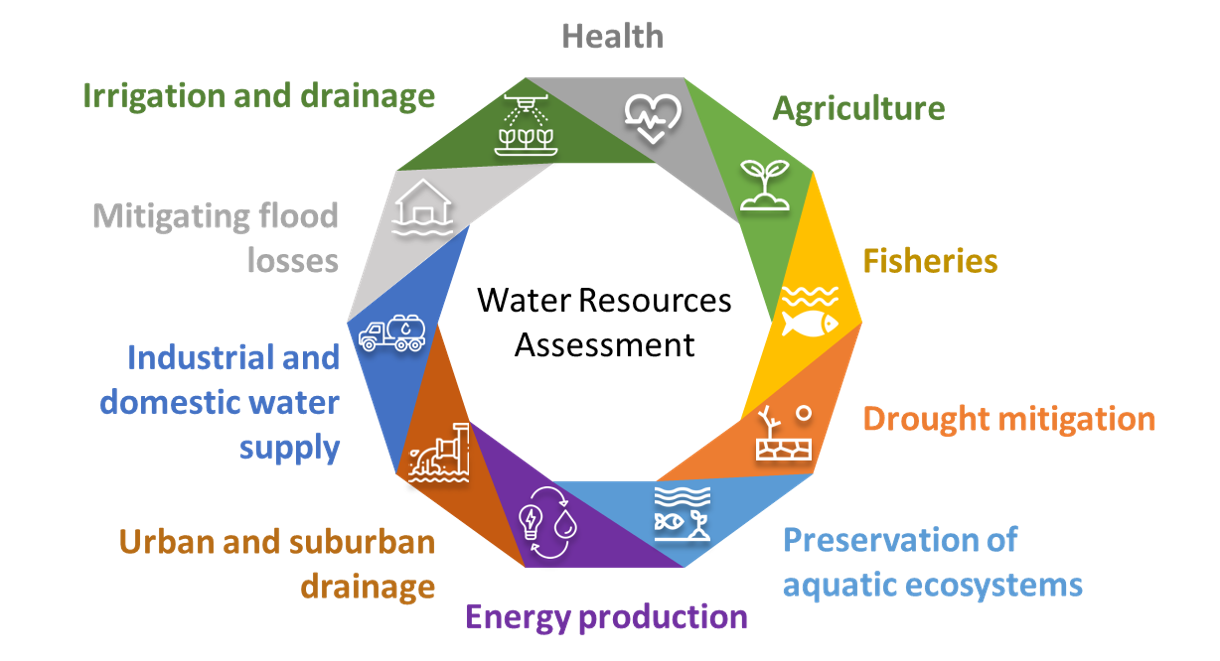
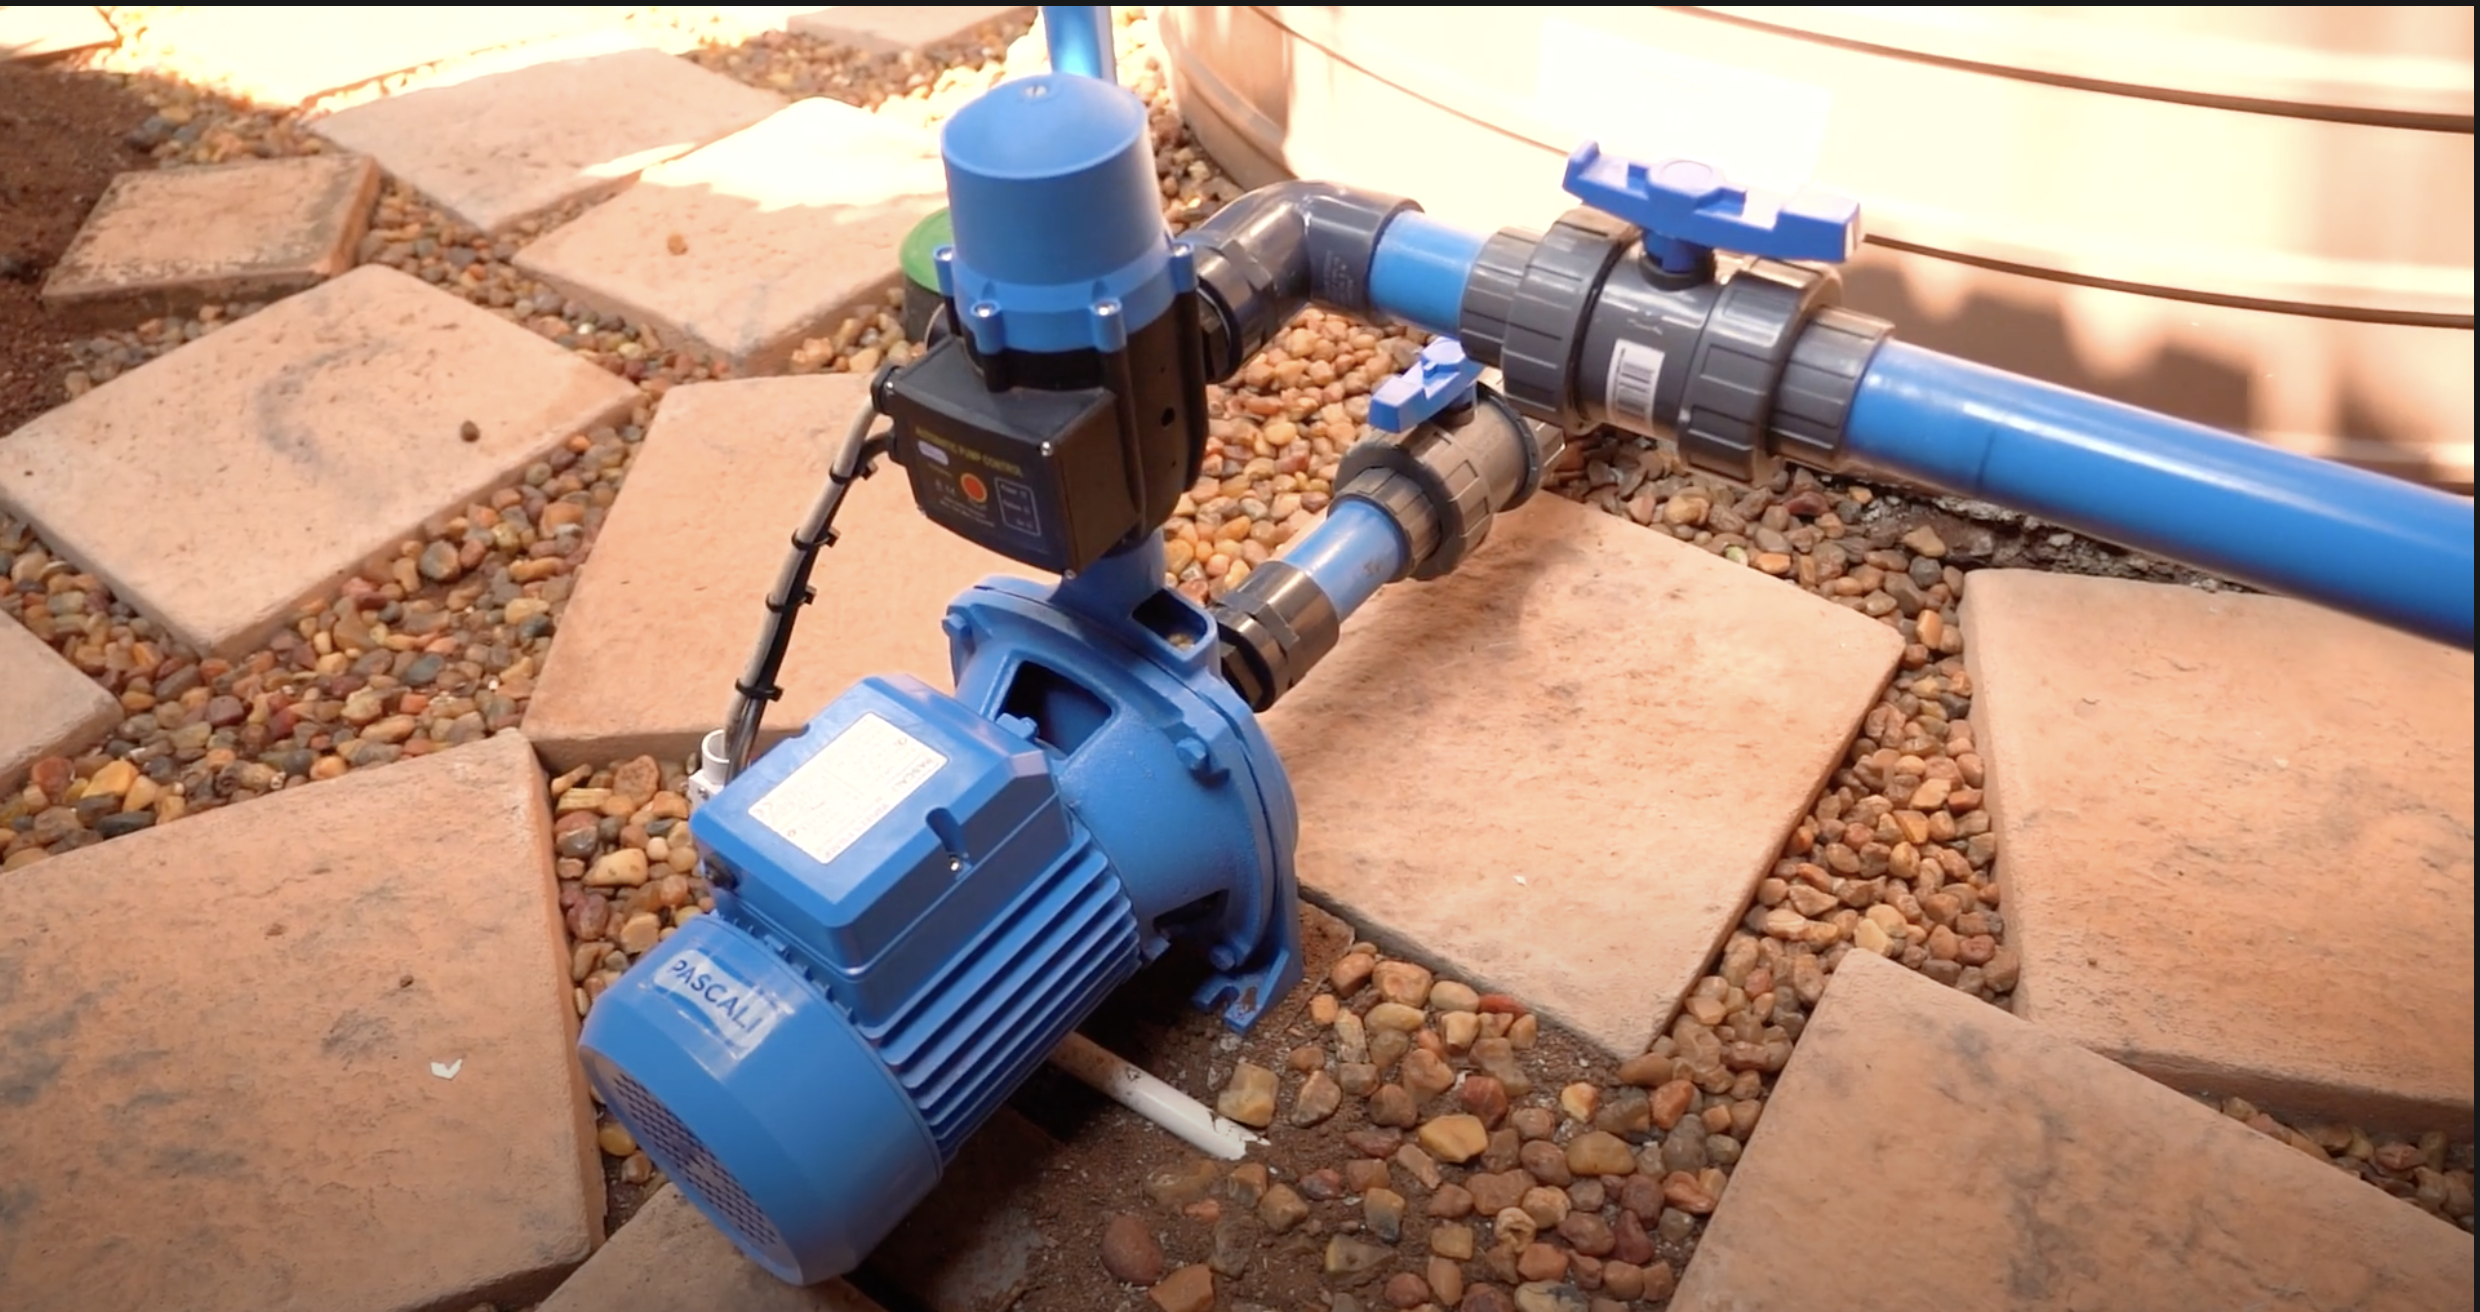
Complete water supply system overview

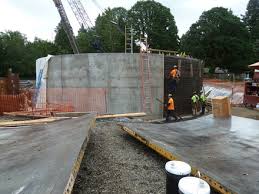
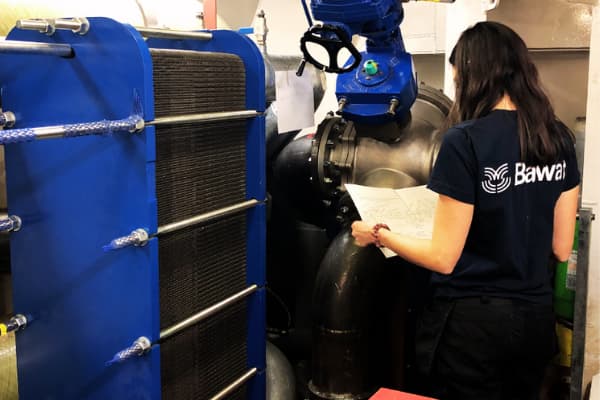
Our professional installation team at work
Note: For complex installations or if you're unsure about any step, please contact our professional team for assistance.